How to Insulate Under the Kitchen Sink? Step-by-Step Guide
Insulating under your kitchen sink is a practical step to protect your home from plumbing issues and enhance energy efficiency. Whether you’re dealing with freezing winters or simply trying to prevent cold drafts, proper insulation can make a big difference. This guide will walk you through the process of insulating under your kitchen sink, from choosing the right materials to implementing effective techniques.
Table of Contents
Why Insulating Under the Kitchen Sink Is Important
Insulating the space under your kitchen sink serves several essential purposes:
1. Protecting Pipes from Freezing
In cold climates, uninsulated pipes under the sink are prone to freezing, which can lead to burst pipes and water damage.
2. Preventing Heat Loss
Uninsulated spaces allow cold air to seep into your home, reducing the efficiency of your heating system.
3. Enhancing Energy Efficiency
By keeping the under-sink area insulated, you reduce drafts and maintain a consistent indoor temperature, lowering energy bills.
Proper insulation can save you time, money, and stress caused by preventable plumbing issues.
Also read: How to Fix a Leak Under the Kitchen Sink
Signs You Need to Insulate Under the Kitchen Sink
If you notice any of the following signs, it’s time to insulate under your kitchen sink:
- Cold Drafts: Chilly air coming from the cabinet indicates gaps or lack of insulation.
- Frequent Pipe Freezing: Pipes under the sink freeze during colder months.
- High Energy Bills: A poorly insulated kitchen sink area can increase heating costs.
Addressing these issues with insulation provides long-term benefits.
Types of Insulation Materials
Choosing the right insulation material is crucial for effective results. Here are some common options:
1. Foam Pipe Insulation
- Lightweight and easy to install.
- Best for wrapping pipes to prevent freezing.
2. Fiberglass Insulation
- Ideal for larger spaces or areas prone to extreme cold.
- Requires careful handling to avoid skin irritation.
3. Reflective Insulation
- Reflects heat back into the space, reducing heat loss.
- Suitable for cabinet walls or floors.
Select the material that fits your budget and specific needs.
Tools and Supplies Needed
To insulate under the kitchen sink, gather these tools and supplies:
Materials:
- Insulation (foam, fiberglass, or reflective).
- Plumber’s tape or duct tape.
- Caulk or spray foam for sealing gaps.
Tools:
- Utility knife or scissors for cutting insulation.
- Measuring tape for accurate dimensions.
- Gloves and safety goggles for protection.
Having the right tools ensures a smooth and efficient process.
Step-by-Step Guide
Step 1: Clear Out the Cabinet Space
Before starting, empty the cabinet under your sink.
Preparation Steps:
- Remove all stored items, including cleaning supplies and garbage bins.
- Wipe down the interior to remove dirt and debris.
A clean, empty space makes it easier to work and install insulation.
Step 2: Identify Areas to Be Insulated
Carefully inspect the under-sink area to determine where insulation is needed:
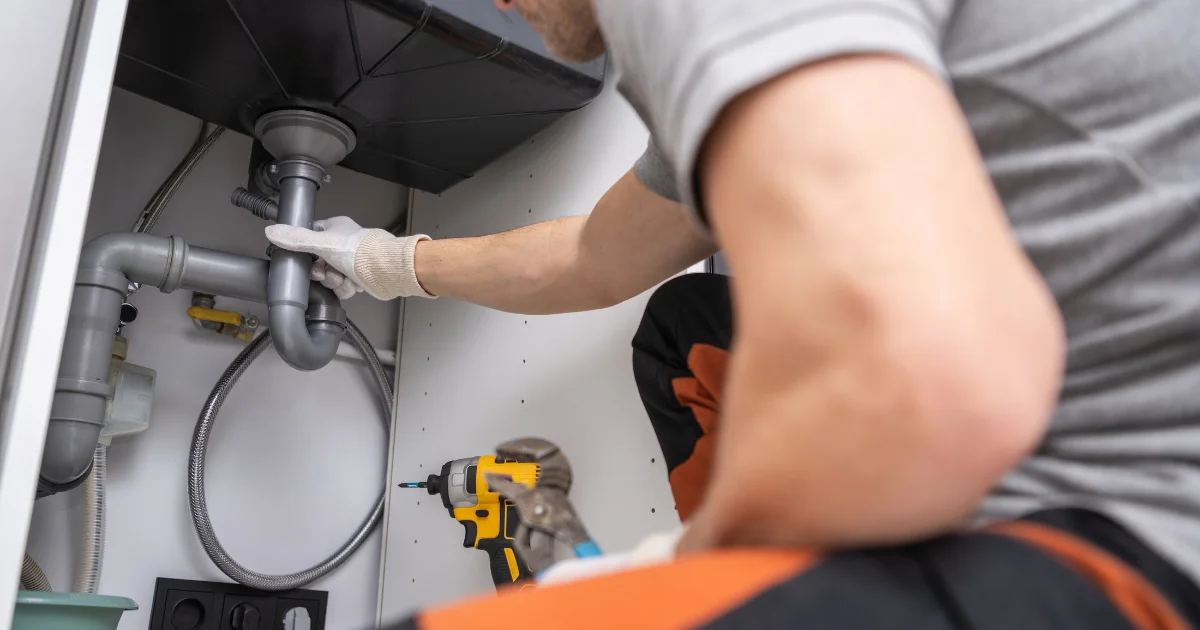
- Pipes and Connections: Focus on exposed hot and cold water pipes.
- Cabinet Walls: Look for gaps or thin spots in the cabinet walls.
- Base of the Cabinet: Check the floor for cold drafts.
Mark these areas for targeted insulation.
Step 3: Insulate Pipes Under the Sink
Pipe insulation is a crucial step to prevent freezing and heat loss.
How to Insulate Pipes:
- Measure the length and diameter of the pipes.
- Cut foam pipe insulation to the appropriate size.
- Wrap the insulation around the pipes, ensuring a snug fit.
- Secure with plumber’s tape or zip ties.
Properly insulated pipes are less likely to freeze or sweat.
Step 4: Seal Gaps and Cracks
Small gaps around plumbing entry points are major sources of drafts.
Sealing Steps:
- Use caulk to fill small gaps around pipes.
- For larger gaps, apply expanding spray foam.
- Allow the sealant to dry before proceeding with insulation.
This step ensures a more airtight under-sink area.
Step 5: Add Cabinet Wall Insulation
Insulating the walls of your cabinet helps maintain a consistent temperature.
Installing Wall Insulation:
- Cut foam board or reflective insulation to fit the cabinet walls.
- Attach the panels using adhesive or tape.
- Ensure a tight fit to minimize gaps.
Wall insulation enhances overall energy efficiency.
Step 6: Use Insulated Mats for the Cabinet Floor
The floor of your under-sink cabinet is another area prone to cold drafts.
How to Insulate the Floor:
- Measure and cut insulated mats or reflective panels to fit the cabinet base.
- Place them on the floor, ensuring complete coverage.
- Secure with adhesive if necessary.
Insulated mats provide added protection and are easy to install.
Step 7: Install Weatherstripping on Cabinet Doors
Drafts often enter through gaps in cabinet doors.
Installing Weatherstripping:
- Clean the edges of the cabinet doors.
- Apply self-adhesive weatherstripping around the door frame.
- Close the doors to ensure a snug seal.
Weatherstripping prevents cold air from entering the cabinet.
Step 8: Test for Drafts and Cold Spots
After insulating, check for any remaining gaps or cold spots.
Testing Methods:
- Use a thermal camera to detect temperature differences.
- Run your hand along the insulated areas to feel for drafts.
Address any missed spots for complete insulation coverage.
Tips for Effective Insulation
- Focus on Exposed Pipes: Insulate all visible pipes under the sink, especially those on exterior walls.
- Check for Drafts: Seal any gaps or cracks in the cabinet to block cold air entry.
- Use High-Quality Materials: Opt for durable and moisture-resistant insulation materials.
- Inspect Regularly: Check the insulation periodically for wear or damage and replace it as needed.
Preventing Mold and Moisture Build-Up in Insulated Areas
Insulation can trap moisture if not installed correctly, leading to mold growth.
Tips for Moisture Prevention:
- Use a moisture barrier under insulated areas.
- Ensure proper ventilation in the cabinet space.
- Regularly inspect for signs of mold or dampness.
Keeping the area dry extends the lifespan of your insulation.
Insulating Under the Sink in Extreme Climates
If you live in an area with harsh winters, take additional precautions:
- Heat Tape: Wrap pipes with heat tape before applying insulation for added protection.
- Double Layer Insulation: Use two layers of insulation for maximum coverage.
Extreme climates may require more robust solutions.
Cost of Insulating Under the Kitchen Sink
The cost of insulating under your kitchen sink varies based on materials and methods:
DIY Costs:
- Foam pipe insulation: $10–$20.
- Reflective panels or foam boards: $15–$30.
Professional Installation Costs:
- Ranges from $100–$300, depending on labor and materials.
DIY insulation is budget-friendly, while professional services ensure expertise.
Benefits of Insulating Under the Sink
Investing in insulation provides numerous advantages:
- Lower Energy Bills: Reduced heat loss means less strain on your heating system.
- Increased Pipe Durability: Protected pipes are less likely to freeze or burst.
- Improved Comfort: A well-insulated sink area prevents cold drafts in your kitchen.
The benefits far outweigh the initial effort and cost.
Common Mistakes to Avoid When Insulating
Avoid these errors for effective insulation:
- Using the Wrong Materials: Ensure your insulation is suitable for pipes and cabinets.
- Overlooking Small Gaps: Even tiny gaps can allow cold air to seep in.
- Skipping Regular Inspections: Neglecting maintenance can lead to undetected issues.
Proper installation and upkeep are essential for long-lasting results.
Conclusion
Insulating under the kitchen sink is an easy and effective way to protect your plumbing from freezing temperatures, reduce noise, and improve efficiency. By following this guide and using the right materials, you can create a well-insulated space that provides long-term benefits.
FAQs
How do I know if my pipes are freezing?
Signs include reduced water flow, visible frost on pipes, or a complete lack of water.
What’s the best insulation for under-sink areas?
Foam pipe insulation is ideal for pipes, while reflective panels work well for walls and floors.
Can I insulate pipes without professional help?
Yes, with the right tools and materials, pipe insulation is a straightforward DIY project.
How often should I check my insulation?
Inspect your insulation annually, especially before winter, to ensure it’s in good condition.
Is spray foam safe for under-sink use?
Yes, spray foam is safe and effective for sealing larger gaps around plumbing.
How much does it cost to insulate under the kitchen sink?
DIY projects can cost as little as $20, while professional installation ranges from $100–$300.



Post Comment